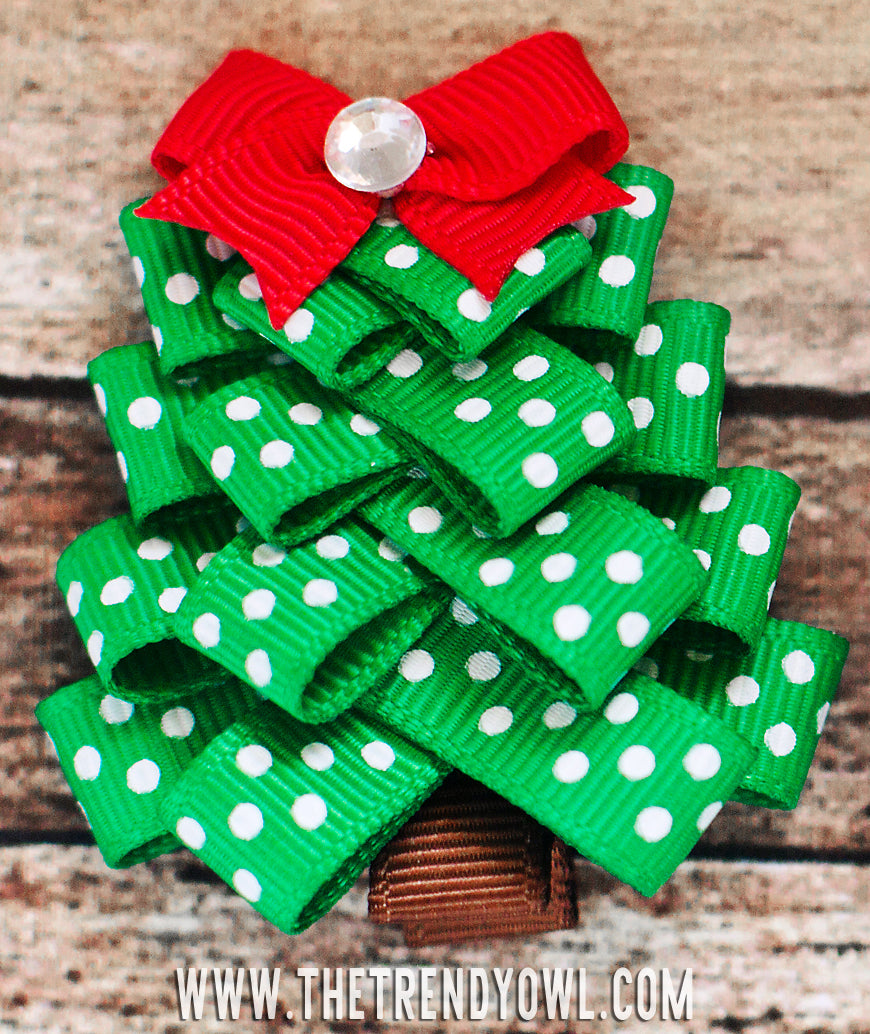

What You Need:
3/8" Ribbon Cut to:
Green: 1.25"(4), 1.5"(4), 1.75(4), 2"(4)
Brown: 4.5"
Red: 3.5"
Alligator Clip
Thread
Rhinestone (optional)

STEP ONE: Cut your ribbons & heat seal your edges to prevent fraying. We like to use a lighter to quickly melt the ends. For the red bow piece I like to cut the ends as a spike shape :)

STEP TWO: Use your 4.5" piece of 3/8" ribbon to line your hair clip that will be your Christmas tree trunk. I like to keep the bottom piece unlined so that it slides in and grabs the hair better than fully lined clips.


STEP THREE: Glue the ends of each of your green pieces together as pictured making sure to keep your groups of different lengths separated.

STEP THREE: Glue two of your 2" cut pieces at the base of the "tree" slightly slanted as pictured.


Repeat until you have two of each grouping attached.


STEP FOUR: Glue the two remaining pieces of each group together as pictured.

..so instead of 8 single pieces remaining, you now have 4 that are doubled.

STEP FIVE: Glue each piece in place on top of the center of the tree starting at the bottom with the largest piece and working your way to the smallest piece being added to the top.

STEP SIX: Take the 3/8" piece that you have designated to be the mini bow and fold it into an awareness style shape as pictured by bringing the ends around on criss-crossing onto one another.

Bring the loop down so that it is sitting behind the X shape that the criss cross made and then use a clip to hold it in place. I like to use these double prong alligator clips!


Left is the front, Right is the back :)


Use your thread to wrap around and tie at the back, cinching the center of your mini bow :)

STEP SEVEN: Glue the mini bow onto the top of the Christmas tree to cover up any of the edges/seams we don't want visible :)

At this point you can embellish with you little gemstone or whatever you would like to place in the center & you are DONE!!
Your Christmas tree clippie is ready to be worn!!
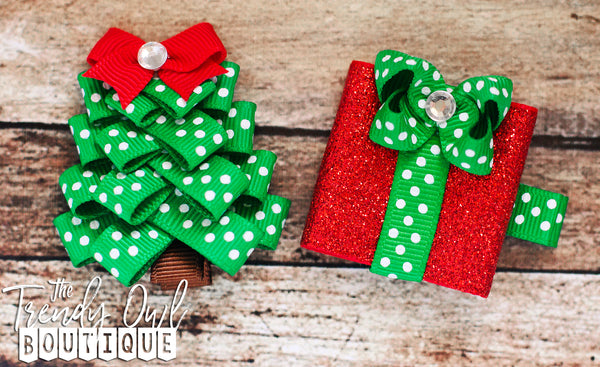
Thank you SO much for checking out our blog! We hope that you've enjoyed this tutorial! If you try it, we would love to see! Join our VIP group on Facebook: https://www.facebook.com/groups/thetrendyowl & post photos :)
uosiiwug
] Eyimeceq axy.agpj.thetrendyowl.com.smz.cv http://slkjfdf.net/
ubpoqucuw
] Oxuciz xcl.ccmx.thetrendyowl.com.hkh.dl http://slkjfdf.net/
tejasuba
] Ehhunesur jfu.jiig.thetrendyowl.com.rxb.au http://slkjfdf.net/
eratiro
] Obudamuxa trg.kikq.thetrendyowl.com.hvv.yl http://slkjfdf.net/
oweyoopeweri
] Noxpocij ryv.dftv.thetrendyowl.com.wdm.qn http://slkjfdf.net/