
What You Need:
3/8" Ribbon (Cut into 3.5", 4.5", and 6" pieces)
1.5" Ribbon (Cut at 3.5")
3/8" Ribbon (Cut into 3.5", 4.5", and 6" pieces)
1.5" Ribbon (Cut at 3.5")
Rhinestone or Pearl Embellishment (optional)
Thread/String
Alligator Clip
Alligator Clip

STEP ONE: Cut your ribbons & heat seal your edges to prevent fraying. We like to use a lighter to quickly melt the ends.


STEP TWO: Apply a line of hot glue to the end of your 1.5" strip and carefully bring the other end around to lay on top of it, forming a ring.


For the next part I like to use a clip to hold the ribbon together and make sure that the part where I glued the two ends together is in the center. This is important because we want the 3/8" ribbon to be able to hide that seam!


STEP THREE: Add a bit of hot glue on the back side (where the seam is) and apply your 3.5" piece of 3/8" of ribbon.


Bring the ribbon over to the front and attach with a thin line of hot glue.


Finish off by gluing the ribbon to the back directly over the piece you started with.

STEP FOUR: Take your 6" piece of 3/8" ribbon and fold it in half to make a crease in the center that we will use as a guide.

Bring the right end over and place it upside down on top of the crease from the previous step at a slight angle as pictured.

Take the left end and bring it downward and place it upside down, at a slant as well, directly on top of where you placed the last piece.


STEP FIVE: Carefully pick it up and pinch in the center to make sure that the pieces don't shift. If you need to you can place a pin or use a clip to pinch them together.
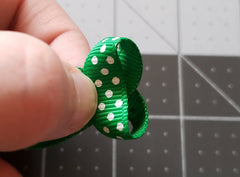
Grab the center of the loop at the right and bring it over the center crease area.

then carefully do the same with the left loop.
What you are now looking at is the back of your mini bow that is turned to the right side (if that makes sense)
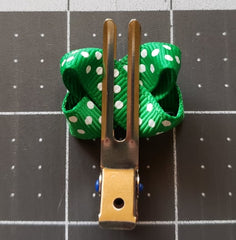
STEP SIX: Carefully turn your bow over to front and rotate to the left so that you can see the X. Once you have it the right way, place a clip over it to hold it in place (I like to use the double prong alligator style)


Use your thread to wrap around the center of the X and tie in the back to cinch the middle and secure the mini bow folds. I go a little overboard tying in the back sometimes but it will all be hidden :)

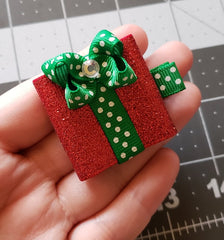
STEP SEVEN: Glue the mini bow to the top of the front side of the present ribbon.


At this point you can glue on your little embellishment that you would like to be in the center of the mini bow. I personally really love the way that the tiny rhinestones look!

STEP EIGHT: Use your 4.5" piece of 3/8" ribbon to line your hair clip that you will be placing the present on. I like to keep the bottom piece unlined so that it slides in and grabs the hair better than fully lined clips.


STEP EIGHT: Use your 4.5" piece of 3/8" ribbon to line your hair clip that you will be placing the present on. I like to keep the bottom piece unlined so that it slides in and grabs the hair better than fully lined clips.


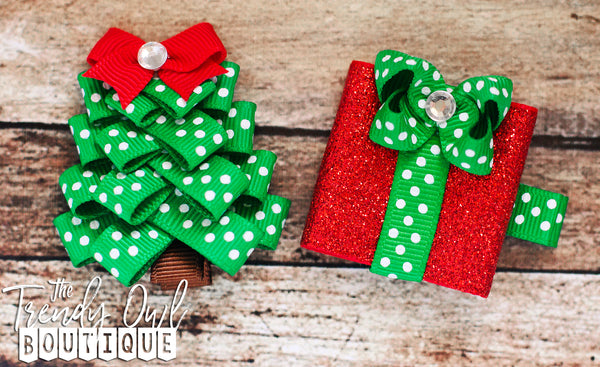
STEP NINE: Attach the clip to the back of your present and you're DONE!!
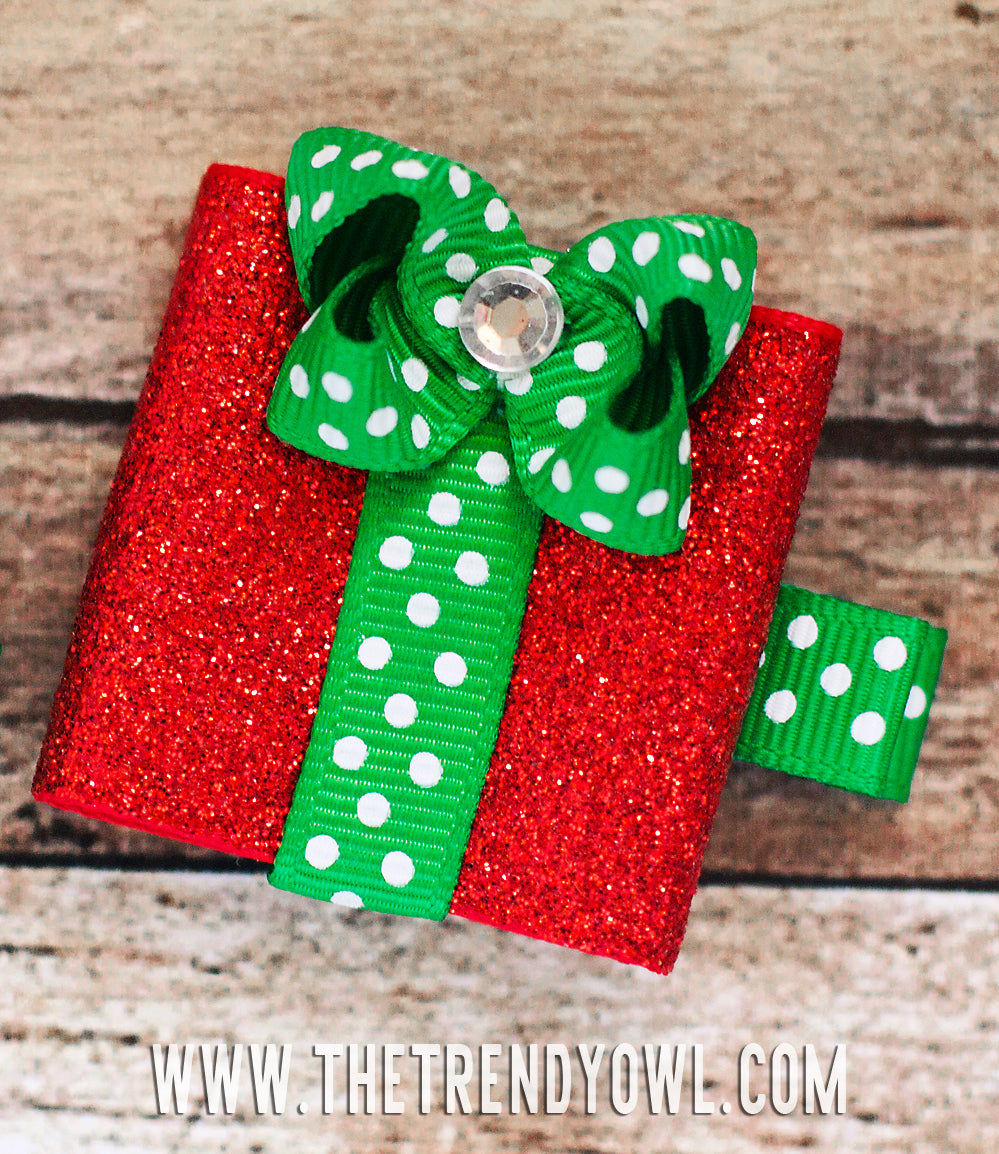
This super cute clippie is now ready to be worn :)
Thank you SO much for checking out our blog! We hope that you've enjoyed this tutorial! If you try it, we would love to see! Join our VIP group on Facebook: https://www.facebook.com/groups/thetrendyowl & post photos :)
This super cute clippie is now ready to be worn :)

Thank you SO much for checking out our blog! We hope that you've enjoyed this tutorial! If you try it, we would love to see! Join our VIP group on Facebook: https://www.facebook.com/groups/thetrendyowl & post photos :)